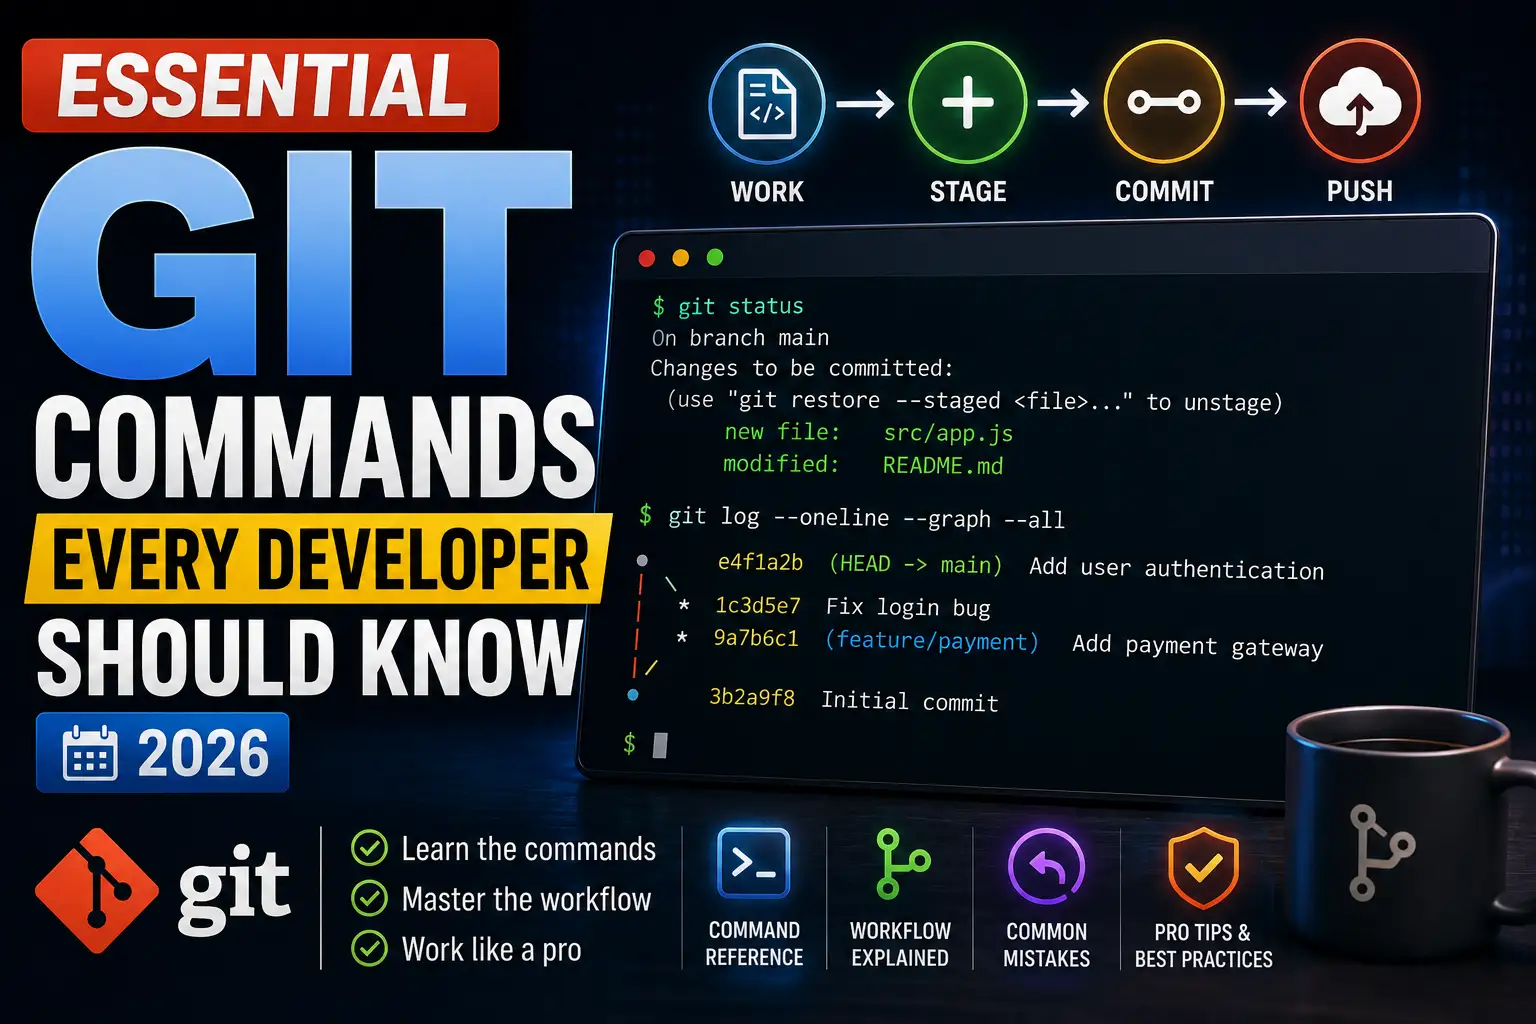
Essential Git Commands Every Developer Should Know in 2026
Git is the closest thing software development has to a universal language. Whether you're maintaining a Laravel API, shipping a React application, contributing to open source, or onboarding onto a project that's been running for years, Git is how code moves, how history is preserved, and how mistakes get recovered. Yet most developers spend their careers using the same five commands while the rest of the toolkit sits unused — right up until the moment they need it and don't know where to look. This guide covers the full picture: what each essential command does, when to use it, what to avoid, and how to recover when things go wrong.
Git vs GitHub: A Necessary Distinction
Git is the version control system itself — a command-line tool installed on your machine that tracks changes, manages branches, and maintains a complete history of your project. GitHub is a cloud-based hosting platform that stores Git repositories and adds collaboration features on top: pull requests, code review, Actions for CI/CD, and issue tracking. You can use Git without GitHub. GitHub without Git is impossible. The distinction matters when troubleshooting — errors around permissions, remote URLs, and authentication come from GitHub; errors around merges, staging, and history come from Git.
The Standard Git Workflow
Almost every Git workflow follows the same conceptual loop: you work on a branch, stage your changes, commit them with a message, then push to a remote. On a team, you also fetch or pull updates from colleagues, create pull requests for review, and merge approved changes into the main branch. Understanding that loop makes every individual command easier to place — you always know roughly where in the cycle you are.
All Essential Git Commands at a Glance
| Command | Purpose | Level |
|---|---|---|
git init | Initialize a new local repository | Beginner |
git clone | Copy a remote repository locally | Beginner |
git status | Show working tree and staging area state | Beginner |
git add | Stage changes for the next commit | Beginner |
git commit | Save staged changes to history | Beginner |
git log | View commit history | Beginner |
git diff | Show unstaged or staged changes | Beginner |
git branch | List, create, or delete branches | Beginner |
git checkout | Switch branches or restore files (legacy) | Beginner |
git switch | Switch branches (modern alternative) | Beginner |
git merge | Merge another branch into the current one | Intermediate |
git rebase | Reapply commits onto another base | Intermediate |
git fetch | Download remote changes without merging | Intermediate |
git pull | Fetch and merge remote changes | Intermediate |
git push | Upload local commits to remote | Beginner |
git remote | Manage remote connections | Intermediate |
git stash | Temporarily shelve uncommitted work | Intermediate |
git stash pop | Restore the most recent stash | Intermediate |
git restore | Discard working directory changes | Intermediate |
git reset | Unstage or undo commits (can be destructive) | Intermediate |
git revert | Safely undo a commit by creating a new one | Intermediate |
git clean | Remove untracked files from working directory | Intermediate |
git tag | Mark a specific commit (releases, versions) | Intermediate |
git cherry-pick | Apply a specific commit from another branch | Advanced |
git blame | Show who last modified each line of a file | Advanced |
git reflog | View the full history of HEAD movements | Advanced |
Starting a Project: init, clone, remote
git init
Initializes a new Git repository in the current directory, creating a hidden .git folder that stores all version history. Use it at the start of every new project — a new Laravel app, a standalone Node.js script, a Python data pipeline — before any other Git commands will work.
git init
git init my-project
Common Mistake: Running git init inside a folder that's already inside another Git repository. Use git status first to check whether you're already inside a repo.
git clone
Creates a local copy of a remote repository, including its full history. This is the starting point when joining an existing project on GitHub.
git clone https://github.com/org/project.git
git clone git@github.com:org/project.git my-folder
git remote
Manages connections to remote repositories. The most common use is adding a GitHub remote to a locally initialized repository.
git remote add origin https://github.com/org/project.git
git remote -v
git remote set-url origin git@github.com:org/project.git
Everyday Workflow: status, add, commit, log, diff
git status
Shows the current state of the working directory and staging area: which files are modified, which are staged, and which are untracked. Run this before every commit — it prevents accidentally committing the wrong files.
git statusgit add
Stages changes for the next commit. Only staged changes are included in a commit, which gives you precise control over what goes into each snapshot.
git add index.js
git add src/
git add .
git add -p
Pro Tip: Use git add -p (patch mode) to stage specific hunks within a file rather than the whole thing — useful when a file contains both a bug fix and unrelated work-in-progress changes that should go in separate commits.
git commit
Saves the staged snapshot to the project history. Every commit needs a meaningful message that explains why the change was made, not just what files changed.
git commit -m "feat: add user authentication middleware"
git commit --amend -m "fix: corrected commit message typo"
Best Practice: Follow the Conventional Commits format (feat:, fix:, docs:, chore:) so changelogs can be generated automatically and PRs are easier to review.
git log
Displays the project's commit history. The default output is verbose — --oneline makes it scannable, and --graph adds branch visualization.
git log
git log --oneline
git log --oneline --graph --all
git log --author="name" --since="2 weeks ago"
git diff
Shows exactly what changed between the working directory, the staging area, and committed history. It's the fastest way to review your own changes before committing.
git diff
git diff --staged
git diff main feature/payments
Branching: branch, switch, checkout, merge, rebase
git branch and git switch
Branches are where the real power of Git lives. Every feature, fix, and experiment should live on its own branch rather than directly on main.
git branch
git branch feature/user-auth
git switch feature/user-auth
git switch -c feature/payments
git branch -d feature/old-feature
git switch is the modern, safer replacement for the branch-switching functionality of git checkout. Use it for switching. Use git checkout for file-level operations if needed, but prefer git restore for that purpose.
git merge vs git rebase
Both commands integrate changes from one branch into another, but they produce fundamentally different histories.
| Aspect | git merge | git rebase |
|---|---|---|
| History | Preserves full branch history, creates a merge commit | Rewrites history for a linear, clean timeline |
| Safety | Non-destructive, safe on shared branches | Rewrites commits — never rebase a shared public branch |
| Best for | Merging finished features into main | Keeping a feature branch up to date with main |
| Conflict resolution | Once, at the merge commit | Per commit being replayed |
git merge feature/auth
git rebase main
Warning: Never run git rebase on a branch that others have already pulled. Rewriting shared history causes conflicts for every collaborator who has a copy of those commits.
Remote Commands: fetch, pull, push
| Command | What it does | When to use it |
|---|---|---|
git fetch | Downloads remote changes into tracking branches but does NOT modify working files | When you want to see what changed remotely before deciding what to do |
git pull | Runs git fetch then merges (or rebases) into the current branch automatically | When you're confident about integrating remote changes immediately |
git push | Uploads local commits to the remote repository | After committing finished, reviewed work |
git fetch origin
git pull origin main
git pull --rebase origin main
git push origin feature/payments
git push -u origin feature/payments
git push --force-with-lease origin feature/auth
Important Note: Always prefer --force-with-lease over --force when you must force-push. It refuses to overwrite remote changes you haven't fetched yet, preventing you from silently destroying a colleague's work.
Stashing Work: stash and stash pop
Stash saves your uncommitted changes temporarily without creating a commit, letting you switch context — to fix an urgent bug on another branch, for example — and come back to your work-in-progress later.
git stash
git stash push -m "wip: payment form validation"
git stash list
git stash pop
git stash apply stash@{2}
git stash drop stash@{0}
Pro Tip: Always name your stashes with git stash push -m "description". An unnamed stash in a list of five entries gives you no indication of what it contains without running git stash show on each one.
Undoing Work Safely: restore, reset, revert, clean
| Command | What it undoes | Destructive? | Rewrites history? |
|---|---|---|---|
git restore | Discards changes in the working directory | Yes (uncommitted work lost) | No |
git reset | Moves HEAD backward, optionally unstages or discards changes | Depends on flag | Yes (local only) |
git revert | Creates a new commit that undoes a previous one | No | No |
git clean | Removes untracked files from the working directory | Yes (files permanently deleted) | No |
git restore src/api.js
git restore --staged src/api.js

git reset --soft HEAD~1
git reset --mixed HEAD~1
git reset --hard HEAD~1

git revert abc1234
git revert HEAD

git clean -n
git clean -fd
Warning: git reset --hard and git clean -fd permanently discard uncommitted work. There is no undo. Run git clean -n (dry run) to preview what would be deleted before running the real command.
Best Practice: On shared branches, always use git revert instead of git reset. Revert creates a new commit that documents the undo, whereas reset rewrites history and will cause conflicts for collaborators.
Advanced Commands: tag, cherry-pick, blame, reflog
git tag
Marks a specific commit as a named reference, typically for release versions. Annotated tags (-a) store extra metadata and are preferred for releases.
git tag v1.0.0
git tag -a v1.0.0 -m "Release version 1.0.0"
git push origin --tags
git cherry-pick
Applies a specific commit from one branch onto another without merging the entire branch. Useful for backporting a critical bug fix from develop to a release branch.
git cherry-pick abc1234
git cherry-pick abc1234 def5678
git blame
Shows who last modified each line of a file and in which commit. This is a diagnostic tool — use it to find context for an unexpected piece of logic, not to assign culpability.
git blame src/controllers/OrderController.php
git blame -L 45,60 src/utils/formatDate.js
git reflog
The safety net for everything else on this list. Reflog records every movement of HEAD — including commits that have been reset, branches that have been deleted, and rebases that went wrong. As long as the garbage collector hasn't run, you can recover almost anything from git reflog.
git reflog
git checkout HEAD@{3}
git reset --hard HEAD@{5}
Recovery Tip: After an accidental git reset --hard, run git reflog immediately, find the commit hash from before the reset, and use git reset --hard <hash> to restore it. This works as long as you haven't closed the terminal and run a garbage collection.
Common Git Mistakes and How to Recover
- Committed to the wrong branch: Use
git cherry-pickto apply the commit to the correct branch, thengit reset --soft HEAD~1to remove it from the wrong one. - Committed sensitive credentials: Rotate them immediately — they are already exposed. Remove using
git filter-repoand force-push. Treat the repository as compromised until rotation is complete. - Accidentally deleted a branch: Run
git reflog, find the last commit on that branch, and rungit switch -c recovered-branch <hash>. - Merge conflict you can't resolve: Run
git merge --abortto cancel entirely and return to the pre-merge state. - Pushed a bad commit to main: Use
git revert <hash>to create a documented undo. Never force-push to a shared main or production branch.
Git Workflow Best Practices for Teams
- Protect the main branch. On GitHub, enable branch protection rules that require passing CI checks and at least one approval before merging.
- Write meaningful commit messages. A commit message should complete the sentence "If applied, this commit will…" — that test filters out lazy messages like "fix" or "wip."
- Keep pull requests small. A PR covering one feature or one fix is far easier to review thoroughly than one covering a week of mixed changes.
- Pull before you push. Running
git pull --rebase origin mainon your feature branch before pushing keeps your commits on top of the latest work and reduces merge conflicts. - Use
.gitignorefrom day one. Addnode_modules/,vendor/,.env, and build output folders before your first commit. Retroactively removing tracked files from history is painful.
Frequently Asked Questions
What is the difference between git fetch and git pull?
git fetch downloads remote changes but leaves your working branch untouched, letting you inspect what changed before integrating. git pull fetches and then immediately merges or rebases into your current branch. On active projects where you want to preview before merging, git fetch followed by git diff origin/main gives you full control.
When should I use git rebase instead of git merge?
Use git rebase to keep a feature branch up to date with main during development — it produces a clean, linear history. Use git merge for the final integration of a completed feature into main, especially on teams where preserving the true branch history matters. Never rebase a branch that other developers are working from.
Is git reset --hard always dangerous?
On your own local, unpushed commits it's a common and safe operation. On commits that have already been pushed to a shared branch, it rewrites history that others depend on and causes conflicts when they next pull. The rule of thumb: reset freely on local-only work, revert on anything already shared.
How do I undo the last commit without losing my changes?
Use git reset --soft HEAD~1. This moves the branch pointer back one commit but keeps all your changes staged, ready for a new commit or further editing.
What is git reflog and when should I use it?
Reflog is Git's internal undo history for HEAD movements — it records every checkout, merge, reset, and rebase. Use it any time you've accidentally lost commits that aren't visible in git log. As long as the garbage collector hasn't run (typically within 30–90 days), reflog can recover almost anything.
Final Verdict
You don't need to memorize all 26 commands on day one. Start with the core cycle — status, add, commit, push, pull, branch, and switch — until they're instinctive. Add stash, diff, and log when you feel the gaps they fill. Learn rebase, reset, revert, and reflog before you're in a crisis that demands them. That progression — fundamentals first, recovery commands before you need them, advanced commands when they solve a real problem — is how working developers build Git fluency.
Key Takeaways
- git status is the most underused command and the most important habit — run it before every commit.
- Use git revert to undo shared commits and git reset only for local, unpushed work.
- git reflog is your safety net — almost any accidental data loss in Git can be recovered from it if you act before garbage collection runs.
- Never rebase a branch that other developers have already pulled from.
- Prefer --force-with-lease over
--forceany time a force push is genuinely necessary. - Small, well-named commits with meaningful messages make every future task easier: debugging, code review, reverting, cherry-picking, and generating changelogs.
References
- Git – Official Documentation (git-scm.com)
- Pro Git Book – Free Official Git Reference (git-scm.com)
- GitHub – Using Git (Official Documentation)
- Atlassian – Git Tutorials (Bitbucket)
- Microsoft Learn – Git with Azure DevOps
- Conventional Commits – Official Specification
- git-reflog – Official Reference (git-scm.com)
- git-rebase – Official Reference (git-scm.com)
- git-filter-repo – Recommended tool for rewriting Git history
- Oh Shit, Git!? – Practical Git recovery reference
Comments
0 comments
No comments yet
Start the discussion with a thoughtful note.